Sunday, 19 September 2010

So, as I described over at my other blog, on Thursday last I went to the first in a two part class at Busy Bees on how to make a beautiful felt embroidered bag.  Normally I do quilt classes there but I like the fact that they also run these associated needlework courses.  The bag was made from a lovely piece of rather gorgeous felt, in a rich cerise colour.  It was difficult to choose a colour, as there were so many lovely ones, and I was not familiar with working or stitching on this type of surface.  In the class, we were shown how to make a simple template for our bag, then cut out the felt and the batting and glued these together.  Very simple so far! Then came the fun part - embroidery.  Sandra, our wonderful tutor gathered us round, and demonstrated a variety of stitches to us.  Each of us had been given a practice piece of felt and batting to work with and I was using a new type of thread to me, perle, space dyed in lovely bright shades, and much chunkier needles than I am used to using for my cross stitch.  It was lovely to sit round in a circle with Sandra teaching us, making our first faltering attempts and Sandra kindly showing us again and again so patiently and cheerfully what to do.  The class was full of laughter and smiles as we got to grips with our new stitches, and I was amazed when it was half past twelve and time to go.  Sandra had equipped us with the ideas and tools to decorate our bags so our job was to to go home and wield our needles, and do the decorative stitching before returning next week, to make a handle, sew the bag together and add a fastening.  


On getting home, I realised that I needed to practice some of the new stitches and had an idea.  I bought some felt at the local craft store, and cut out some Christmas ornament shapes using a template from a card making goody bag.  My Crop a dile punched a hole in the top for a ribbon, and added a decorative hole finisher (never sure of the right word for these!).  Then I did little rows of stitching and added pretty gold and coloured seed beads to give twinkle and dimension.  The effect was pretty and festive and I liked it, although I need to keep practicing. 

The pics attached show the finished festive ornaments and the bag in the various stages as stitching and then beading was added. 

Friday, 20 August 2010


Here are a couple of cards I made last night.  One is a thank you card for a friend.  As well as being a talented quilter, she is also a successful beader, and yesterday she kindly gave me a pair of gorgeous beaded ear-rings. that she had recently made.

For both of them, I used a square lilac base card, then got out my faithful Sizzix and cut some square background pieces of patterned paper.  Next, I took some pieces of cream card that I had previously fed through the Sizzix inside an embossing folder, thus producing a gorgeous texture.  After being embossed, they were also die-cut to make smaller square shapes.  Taking a purple chalk inkpad  I then rubbed the ink gently over the raised pattern - this gives a lovely effect, as the colouring is light but picks out the pattern.  In the centre of the flowers, I used glitter glue to highlight. Then I added the felt butterflies, a row of self adhesive purple flowers along the bottom, and then using my pokey tool, some flowers with brad centres. Finally, I added a little glitter glue to the flower petals and the paler butterfly. 

Two beautiful, but quite simple cards, using a technique that I hope to explore more in the future.  I have just ordered from QVC some more embossing folders, new ones from Tim Holtz so it should be hours of fun experimenting with those.

Thursday, 12 August 2010

As mentioned in my other blog, we hosted two of our nephews last week for a couple of days.  I took lots of pictures, as did Andrew, including some he took via his Blackberry, and was able to email back to me while still out on the boat on Cardiff Bay! After the boys had gone back, and I'd emailed a few pics to their parents and grandparents, I uploaded a selection to Photobox and ordered some prints, as well as a couple of enlargements.  One of our nephews gets on particularly well with one of our greyhounds, and we had a lovely picture of him and the hound in question walking together, so I'm going to get a nice frame and send it to him.  The other prints were ordered with a view to a scrapbook, and as usual I was very impressed by Photobox.  Pics were uploaded on Tuesday morning, and by Wednesday lunchtime Keith our lovely postie was knocking on the door with a rather soggy envelope for me (it was pouring with rain). 

I've made up a little scrapbook using 6" x 6" page sizes.  Some time ago, I bought a little box from QVC, of about 20 assorted mini scrapbooks, which has been a real treasure.  Whenever I want to make up a little book I can go to the box, and know I can pull something out easily.  I chose a nice little bright spotty design and got to work.  As the prints were mainly 6" x 4", in some cases all I needed to do was mount them on some suitable background paper, but in other cases I went a bit fancy, and used my diecutter to frame the key elements and layer up some paper and embellishments.  It was fun to choose and edit the pictures and put in a few simple captions, so the boys will always have a nice reminder of their trip.  I am also going to send their parents a duplicate set of prints, as I know they enjoy putting them in photo albums. 

Saturday, 17 July 2010


A couple of nice things to post about. Today is the birthday of a friend, so I decided to stitch a design for her card of a cupcake. The design was taken from a small booklet that came with a recent edition of World of Cross Stitch magazine, to which I subscribe. It was a lovely little piece to stitch and produced a neat little picture. I dithered about mounting it in an aperture card - some stitched designs do look much better that way but as the design had its own little square border round it, I decided to mount it directly onto a card, although as you can see, I layered it with a very pretty selection of papers.

I also wanted to post her a small gift but as the gift was going via the post, was conscious of the weight issue. Possibilitites included a coaster or a key ring, but I knew she enjoyed reading, so I decided on a bookmark. The little booklet also had some very pretty designs for bookmarks, so I stitched one on aida band, using some variegated thread for the larger flowers. At this point, I could just have backed it with interfacing, but that didn't seem enough, so I used some felt, cut in a strip with my rotary cutter just a bit wider than the aida band. Then I used my sewing machine to stitch the completed, pressed aida onto the felt. Finally, I cut a small fringe at the base of the band, leaving me with a very pretty and practical lightweight gift.

The last step was to wrap it in some very lovely K & Co paper, with a ribbon and tag added and then it was off to the Post Office. The gift arrived a couple of days ago, and today was her birthday, so now I feel I can write about it without spoiling the surprise. I'm delighted with how this foray into bookmarks has gone, and think this could be an excellent idea for Christmas gifts as there are a wide variety of very attractive and suitable patterns around and of course felt is available in a rainbow of colours at all craft shops. It's also very useful to be able to send a small gift through the post when you don't see people too often.

Saturday, 26 June 2010


A few things to post about. Firstly, I made a card for Andrew's dad for Father's Day. I started with a plain pearlescent gold card then added a base layer. This was coloured by using a whole range of inks swirled about on the card then I added sprays of Glitz Spritz, which dry to a wonderful coloured metallic sheen. Then on top I layered another image, a stamp which i bought up in London of an old doorway, surrounded by ancient script - this was stamped in a Distress Ink and then covered in Sepia Accents and allowed to dry before trimming and mounting. Finally, I added some organza ribbon, which I coloured using an ink pad, then tied the knot while incorporating a beautiful chipboard key, in keeping with the medieval theme.
For Basil's birthday, next week (Basil is married to Claire, Andrew's sister), I started with a deep brown square card. I layered a smaller piece of K & Co patterned brown paper, then got to work on a smaller square piece of white card. Basil is a keen bird watcher, so I used a bird/branch mask (again,bought in London recently) and then worked various soft green and amber inks in random swooshy patterns. I sprayed with Glitz Spritz then removed the masks before applying the heat gun to dry the card. Once dry, I stamped various botanical stamps across the base using assorted Distress inks - I wanted to give the effect of viewing the bird on the branch through fronds of vegetation. Finally I added a birthday greeting.
Basil and Claire's wedding anniversary is just before Basil's birthday so I made a card for them. I took an A5 card (landscape format) and applied some beautiful glittered paper from the last Docrafts goody bag, featuring roses and butterflies. Then I used my diecutter to cut some squares of co-ordinating papers and layered these on the card. Then I stamped an image of roses (the stamp courtesy of the goody bag) twice using Brushed Corduroy Distress Ink. On the base image, I cut round the stamped card and coloured in the leaves using metallic pencils, then cut the roses from the second stamped image and coloured these, before layering them up on the first image. Then I applied Sepia Accents to the roses, this strengthening the colour and transparent Glossy Accents to the leaves. Once dry, I added a small message on the left of the image - I am really pleased with this and thinks it looks lovely and hope the recipients like it.
Finally, one of Claire and Basil's sons was born on their wedding anniversary! So it's always a busy week for them with three celebrations going on. I made a card for Alex, starting with a sunny yellow square base card with an attractive zig zag edging. This was layered with an orange paper, then on a piece of white card I added a gorgeous stamped image of four adorable little hedgehogs. I coloured these using a combination of gel pens, pencils and some Stickles and edged the card with some Distress Inks. Finally I added a bow at the bottom and a birthday message. All in all, I was very pleased with the way all the cards turned out.

Saturday, 12 June 2010


It's a friend's birthday tomorrow, and we went down to see her today and have a joint hound walk, followed by a relaxing pub lunch. I made her a birthday card. I took an A5 base card in plain white, and topped it off with a pretty design from a recent Docrafts goody bag, then that in turn was topped with a delicate lacey felt butterfly. I added a row of self adhesive flowers in a co-ordinating shade of purple and some paper flowers, then applied copious quantities of glitter glue in various shades to the butterfly and the layered flowers. Finally, a sparkly gem in the centre of the flower, then it just needed to dry. Quite simple, but very attractive none the less.


As a present, I had a little kit from K & Co, from their K-Ology range, which is a pretty little box, and inside you have an accordion book which is stuck down to the base of the box. The pictures show what I did, which was to fill the little pages with various pics of her beloved dogs, and out on assorted walks. I varied the shape and size of the pics, in some cases by chopping ruthlessly, in others by die-cutting into shapes. Various embellishments, stickers and so on were added where appropriate. I had fun making the little book, and I think she'll like it.

Sunday, 23 May 2010


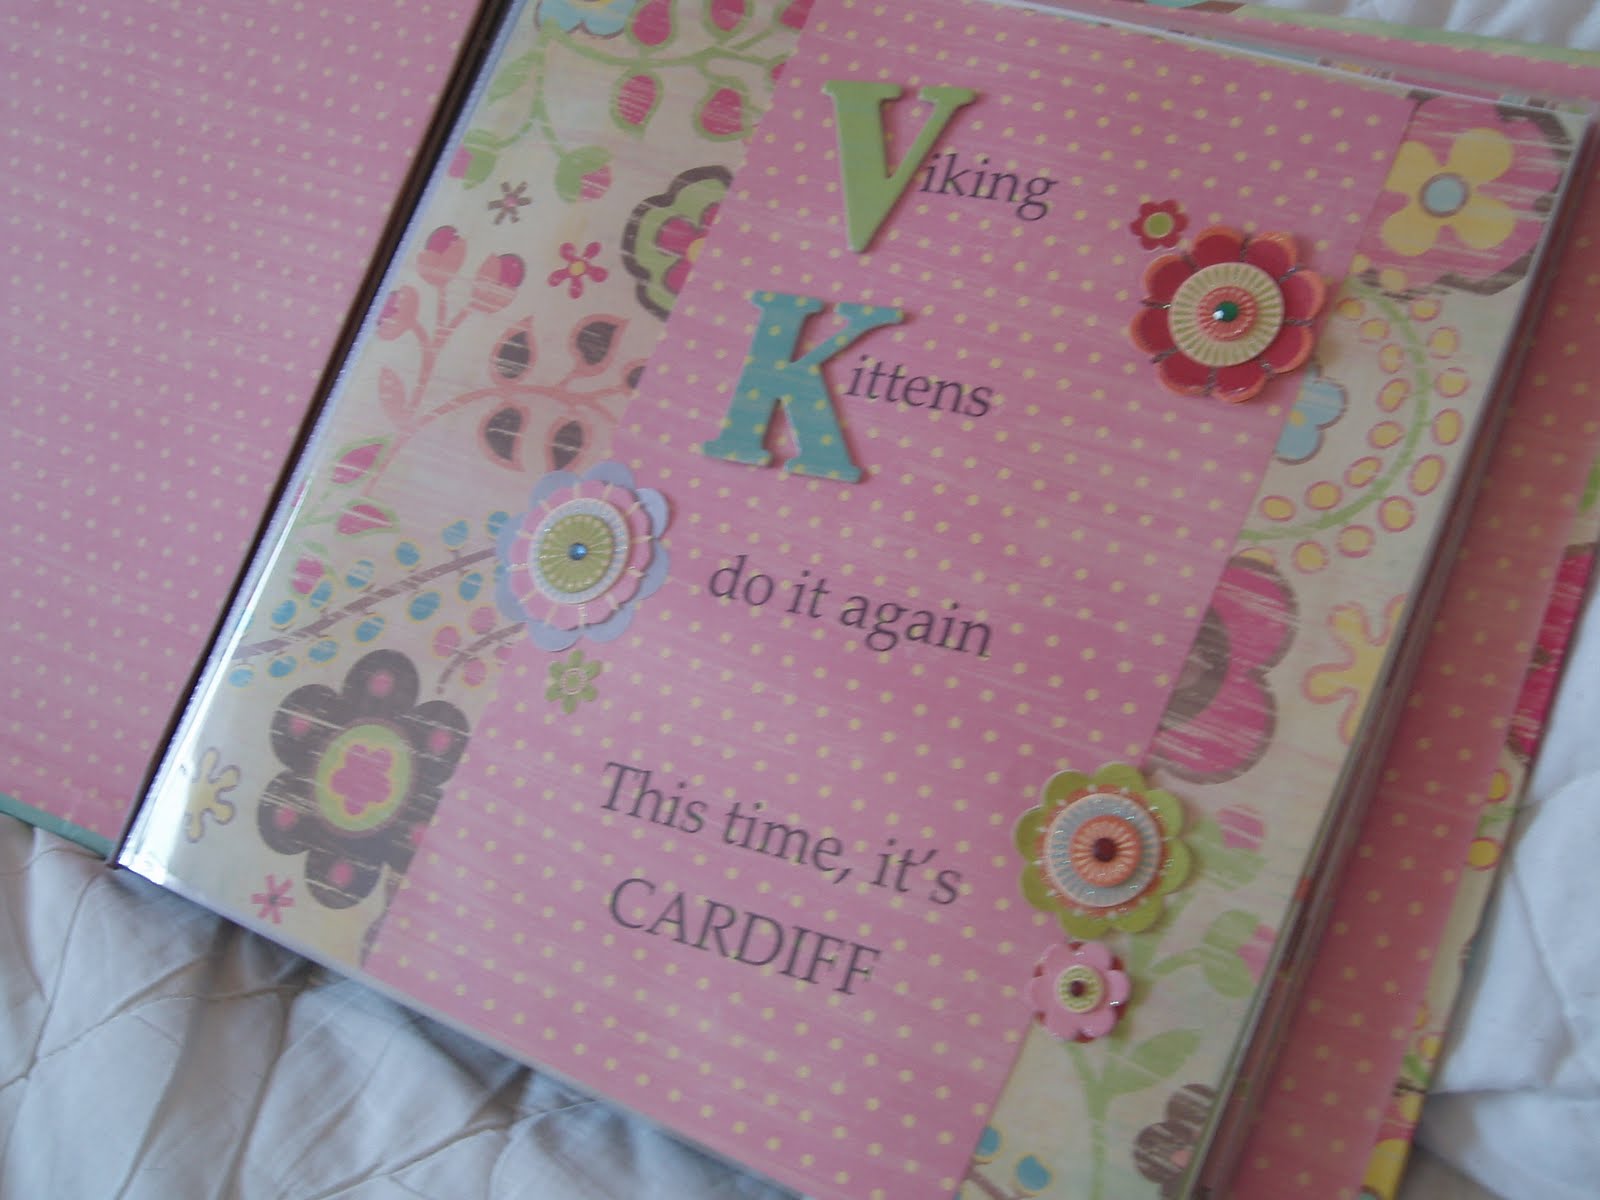
Today, I finished a scrapbook project and an accompanying card. The scrapbook is a 12 x 12 size, and was part of a kit I ordered at a substantial discount from the Docrafts website some time ago. It came with the album, a paper pad, some letters, some diecut printed squares and some pretty chipboard message shapes. Last autumn, one of our very good friends came up from Plymouth and we had a fabulous weekend. I took loads of photos and decided to use the album as a reminder of a wonderful few days.

You can see the album cover, and a few sample pages. I love these bright cheerful florals, spots and stripes - very zingy and uplifting. Of course, with the letters, I very quickly found that I had used up all the vowels and was left with a pile of Z's, Q's and so - it was a bit like playing Scrabble. As usual, I had ordered the prints used from Photobox - I know I keep praising them, but in fairness, I never cease to be impressed by their service, which is very cheap, incredibly fast and good quality.
To go with it, I made a pretty card from a Kanban kit I ordered from QVC about a month ago. One of the reasons I haven't posted much lately is that I've been very busy making lots of cards for the greyhound charity - they have opened a new shop down in Burry Port and I wanted to make sure they had a good stock to get them under way. As part of that exercise I bought this little kit which has been a delight to work with, with lots of really gorgeous shapes and papers to make very simple but attractive cards very quickly, which is just what you want when making in bulk for the shop. I loved the message - "Happiness is Handmade" seemed so appropriate and perfect on a card to accompany this type of gift. After putting some background paper on the blank card, I added and layered the die cut hearts and butterfly, then finished with an organza ribbon and some little adhesive gems.
I photographed the scrapbook on our stripped and not yet made bed and as you can see I was joined by a hound who, as usual, was determined to ensure he was at the heart of any action. I've lost count of the number of photos I have taken which have bits of tail, ear, or furry rump in the corner. So, for your delectation and delight, Andy is included in what should be a strictly crafting blog. But, hey, it's my blog, and I'm going to break the rules!! Lots more greyhound stuff over on my other blog.
Now that the big run of card making is done, I should be able to resume normal service with posts coming a lot more frequently.